How to Shoot City Sky Scrapers and Skylines at Night: Step-by-Step Tutorial
Shooting urban skylines at night can produce some really smart looking shots when done correctly.
What you’ll need:
- DSLR Camera
- Tripod
- Shutter Release Remote (Optional, but recommended)
- A skyline 🙂
Here are the steps:
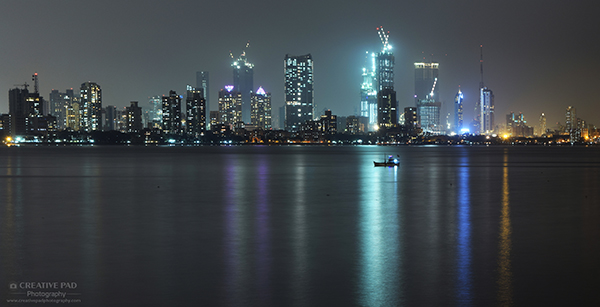
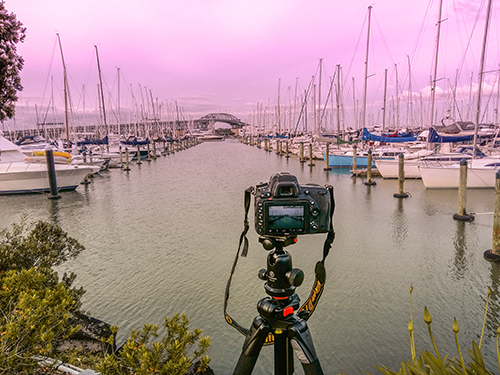
- Find yourself a good vantage point from where you can see the skyline, the sea and the sky. These three elements should be in your frame to make the shot look really good, like in the above shot of the Mumbai skyline.
- Now the biggest mistake people make in taking skyline shots is that they shoot hand-held. Because it’s night time, the light is already less, and therefor they have to increase the ISO. This makes the shot poor on two accounts. Firstly, you get noise in the shot which shows even more in night shots as noise shows prominently in dark areas or shadows. Secondly, in order to get a sharp shot, you will have to use a higher shutter speed since you are shooting hand-held. This will freeze the movement of the water and give a messy look to the sea. The frozen water will contain a lot of textures and hence the reflections of the lights of the buildings won’t look clear.
- So having a tripod is essential. Place your camera on the tripod. Adjust the composition so that the aforementioned three elements can be seen. Now you’re ready to change the settings.
- First thing to do is to change the ISO to 100. Then keep the aperture at f/8.
- Now it’s time to keep reducing the shutter speed till the exposure meter is showing you the pointer at the center. Normally, you’ll find the right exposure somewhere between 20-30 seconds. If it’s still a little dark, then further reduce the shutter speed to go to the BULB mode. Here you can choose your own shutter speed by pressing the shutter button, then counting down seconds by watching a timer and then pressing the shutter button again. So if at 30 seconds, you were getting the image to be dark, then try 40 seconds at bulb mode and see if it has improved.
- The slower shutter speed is useful because it lets us shoot at ISO 100 to get a clean image. It also blurs the water which makes the reflections of the buildings very clear.
- Since you’ll be seaside for such shots, the wind can come into play and if its really strong, it can start to move the tripod a bit. So it’s always a good practice to hang a heavy bag if your tripod has a hook at the bottom.
- Also, since you are using a very slow shutter speed, it’s always a good idea to use a wireless shutter release remote so you don’t have to touch your camera.


nicely described….
tutorials are very short but highly effective and informative. definitely worth reading.
Thanks Sanjiv!